Plan a Campervan Electrical System in 7 Steps
6 min read
On this page
The 7-Step Planning Process
Most campervan and RV electrical systems look different on paper—different budgets, layouts, and travel styles—but the planning process is remarkably similar. For almost any build, you can break the work into seven steps that always appear in roughly the same order.
The roadmap below lists those seven steps in sequence: daily energy needs, battery capacity, charging sources, AC power, power distribution, system monitoring, and wiring with protection. Follow it top to bottom when you plan your build—open the calculator on steps 1–3, or jump to the matching section in this guide for the full write-up on any step.
Estimate Your Daily Energy Usage
Before choosing a battery, solar panel, or charging setup, you need one number: how much energy you use in a typical day, expressed as watt-hours per day (Wh/day). Every later decision—battery size, solar, alternator charging—scales from that figure.
At a high level, figuring out this number takes 3 steps:
List all electrical devices
Fridge, lights, water pump, chargers…
Estimate each load
Wh/day per device
Add up the total
Your total daily Wh/day
Total Wh/day
You are not looking for lab-grade precision here; an honest “normal day in the van” is enough to avoid gross oversizing or undersizing.
Choose Your Battery Size
Your battery acts as the energy storage of the system. It allows you to keep running devices when there is no incoming power from solar panels, driving, or shore power. Just like your mobile power bank for your phone, but bigger.
Once you know your daily Wh/day from Step 1, you can estimate how much battery capacity you need. Battery size is commonly expressed in amp-hours (Ah), but what matters is usable energy—not just the number on the label.
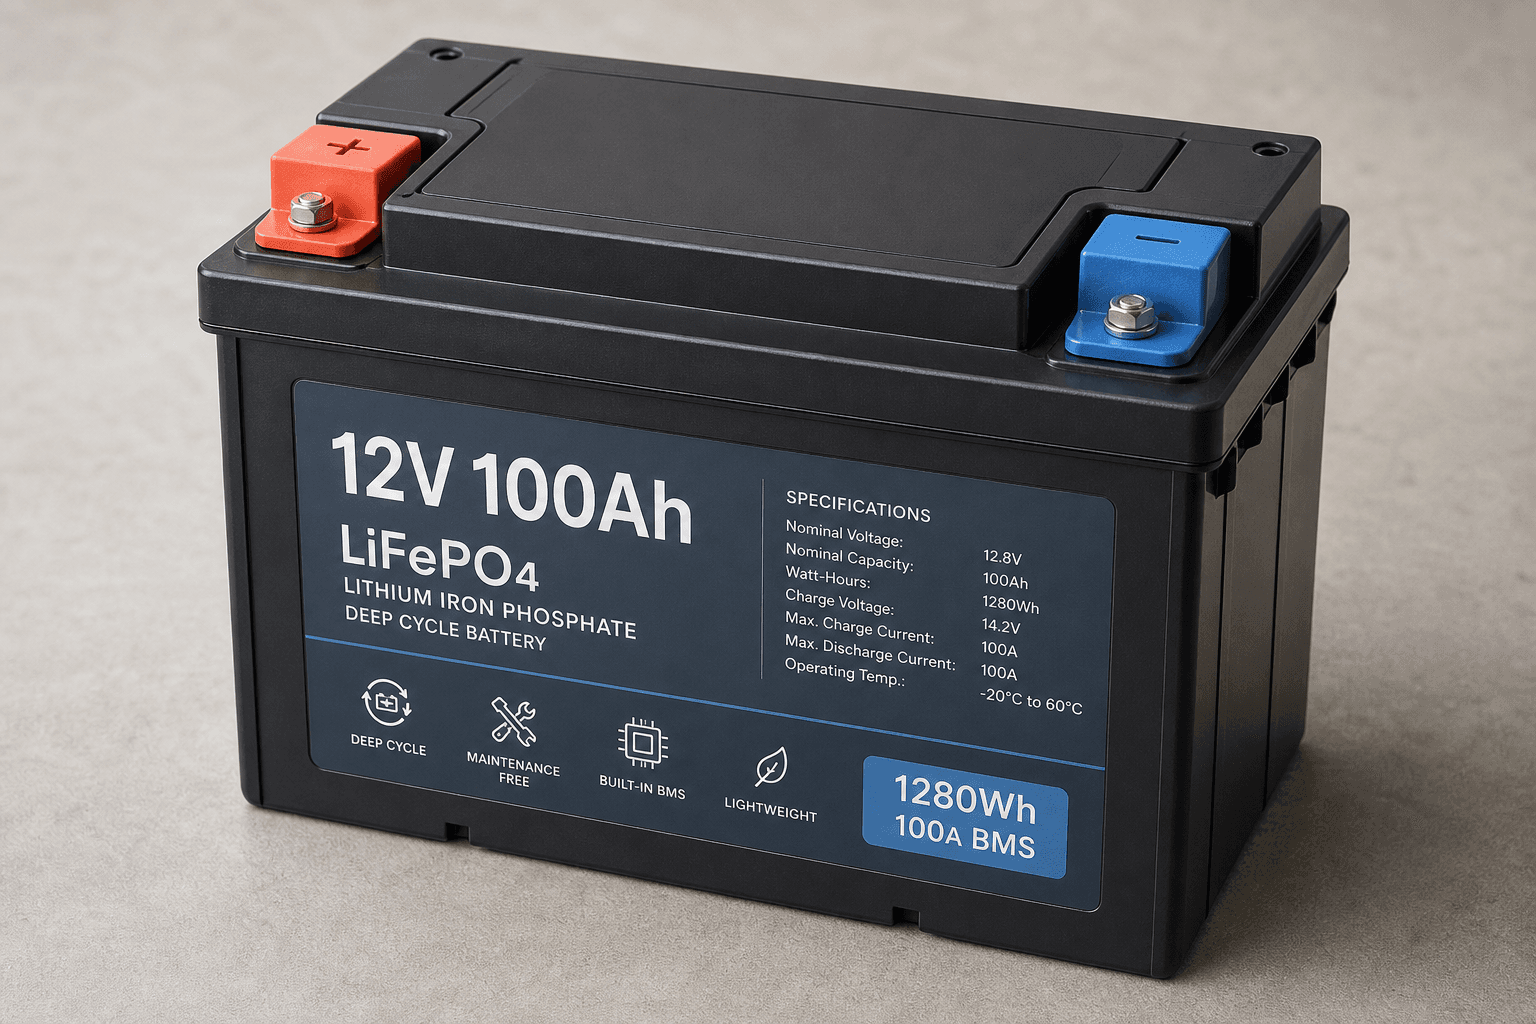
Four inputs drive the right battery size:
Daily energy (Wh/day)
Battery type (Li / AGM)
Autonomy days
Real-world losses
Recommended Ah
The battery sizing tool combines these into a recommended battery size in Ah. Size with a little headroom rather than running the battery nearly empty every day.
Plan Your Charging
Once the battery is sized, plan how you refill it. Most builds choose from these options:
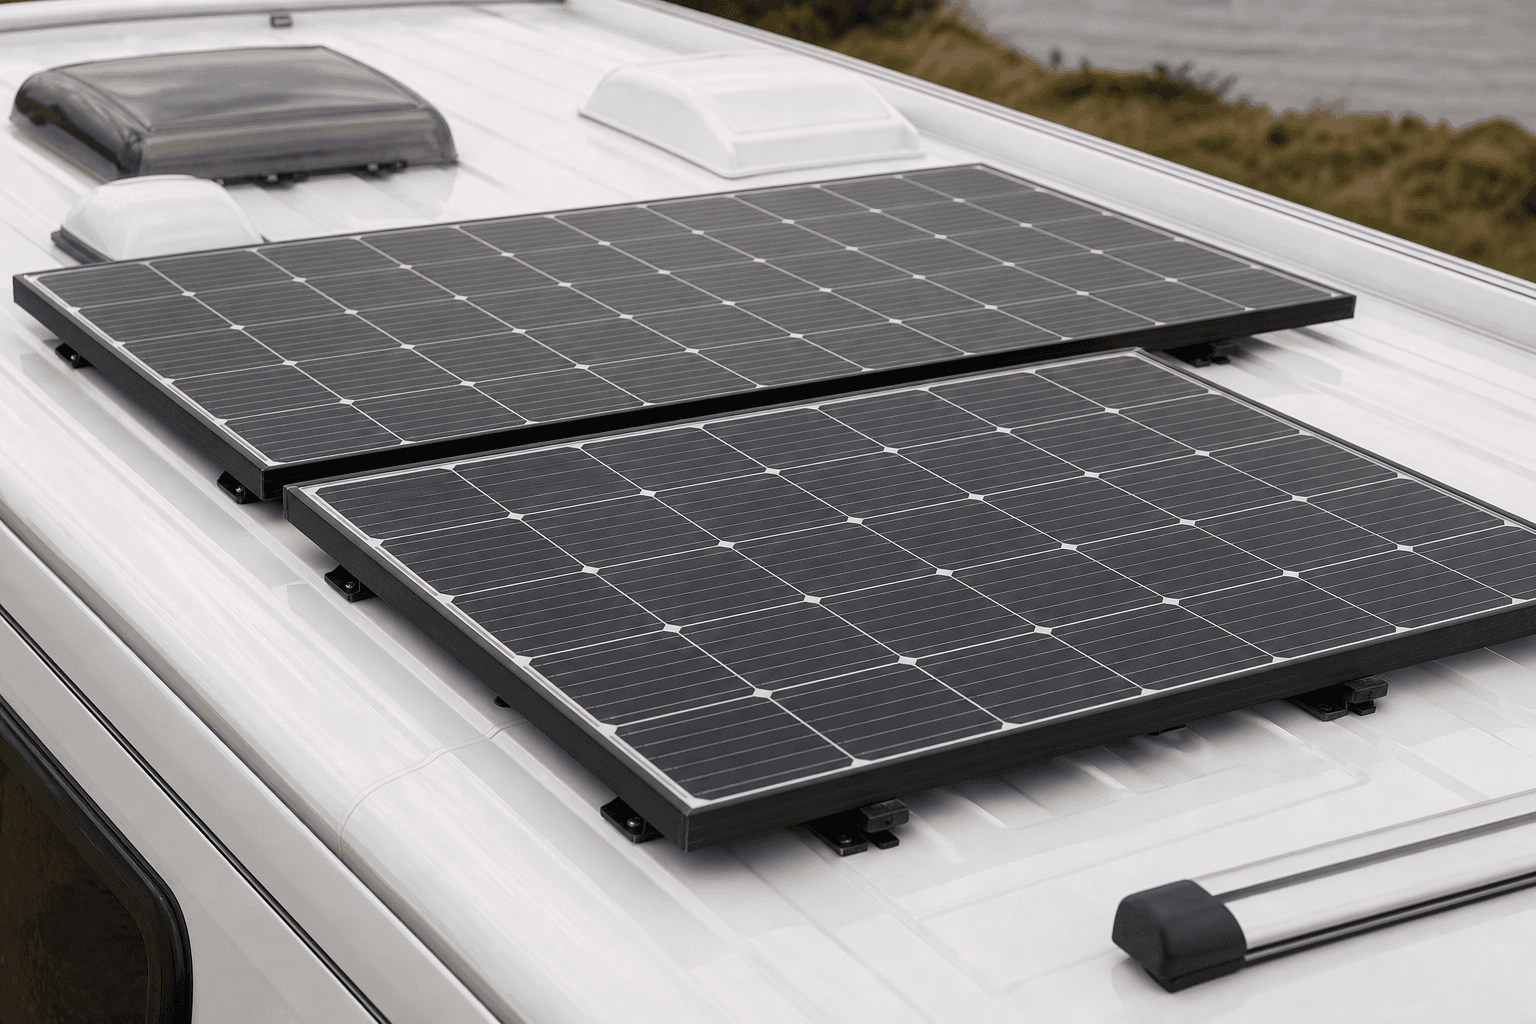
Solar panels
Charges in daylight
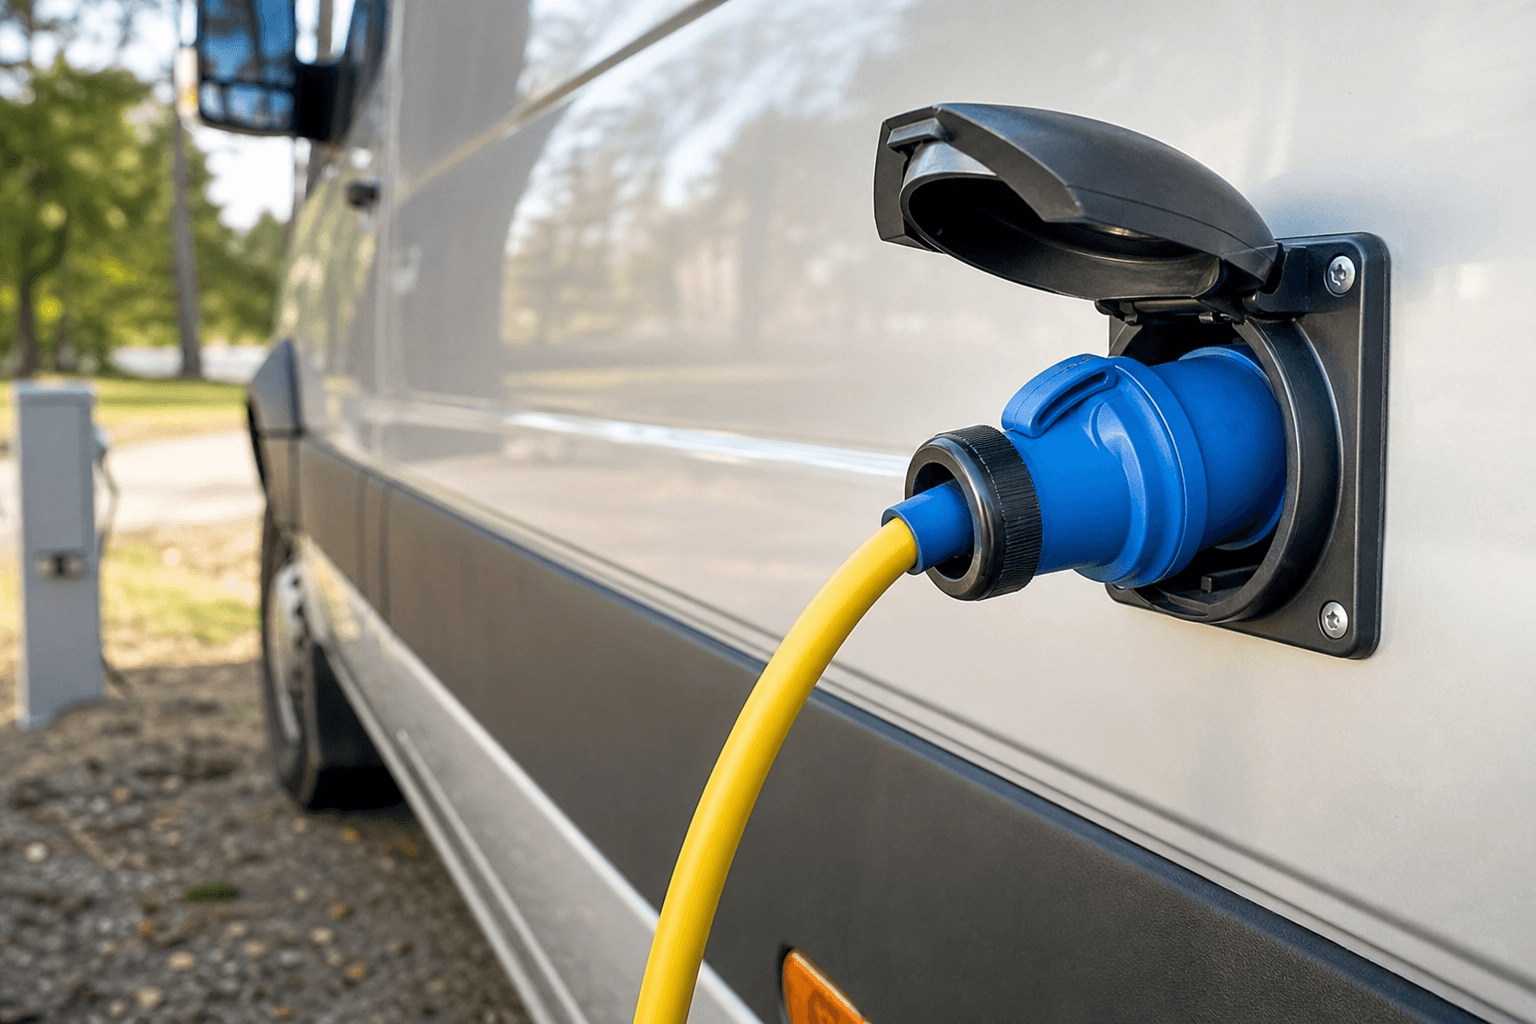
Shore power
Plug at site or home
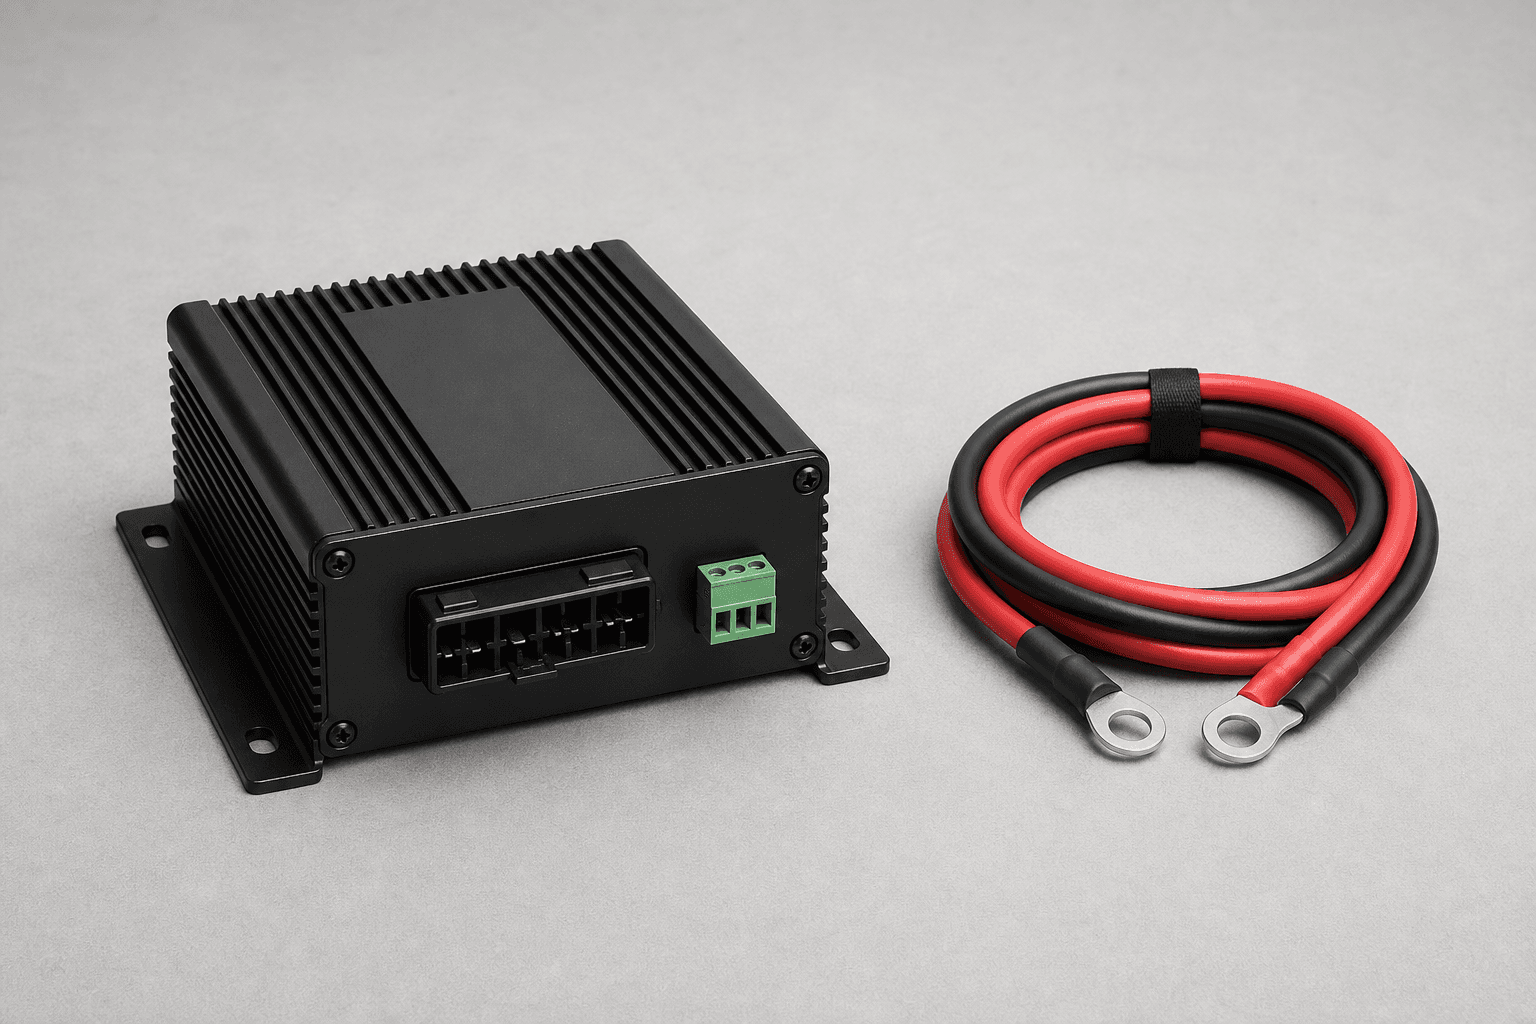
Alternator
Tops up while driving
Battery
Mix any of these to refill it
Solar suits off-grid trips, shore power is handy at home or on campground hookups, and engine charging backs you up on long driving days—mix them to match how you travel.
Solar panels show a watt (W) rating on the label. In plain terms, watts describe how much power the panel can make in strong sun at once. The label figure is measured in a lab under ideal conditions. On your roof, what wattage you actually get depends on three things:
Climate & season
Where you travel, time of year, cloud cover
Shading
Trees, roof racks, nearby vehicles
Panel setup
Roof tilt and facing direction
Solar wattage
The charging planner provides you with a solar wattage suggestion based on your required Wh/day, your battery size, and these factors.
Decide If You Need AC Power
Most van gear runs on 12 V DC—the same type your battery stores. Fridges, lights, and many phone chargers can connect straight to the 12 V system with no extra conversion.
AC is what normal wall outlets supply at home (120 V or 230 V, depending on country). If a device only works from a household plug, you need a way to recreate that outlet power in the van. Common examples:
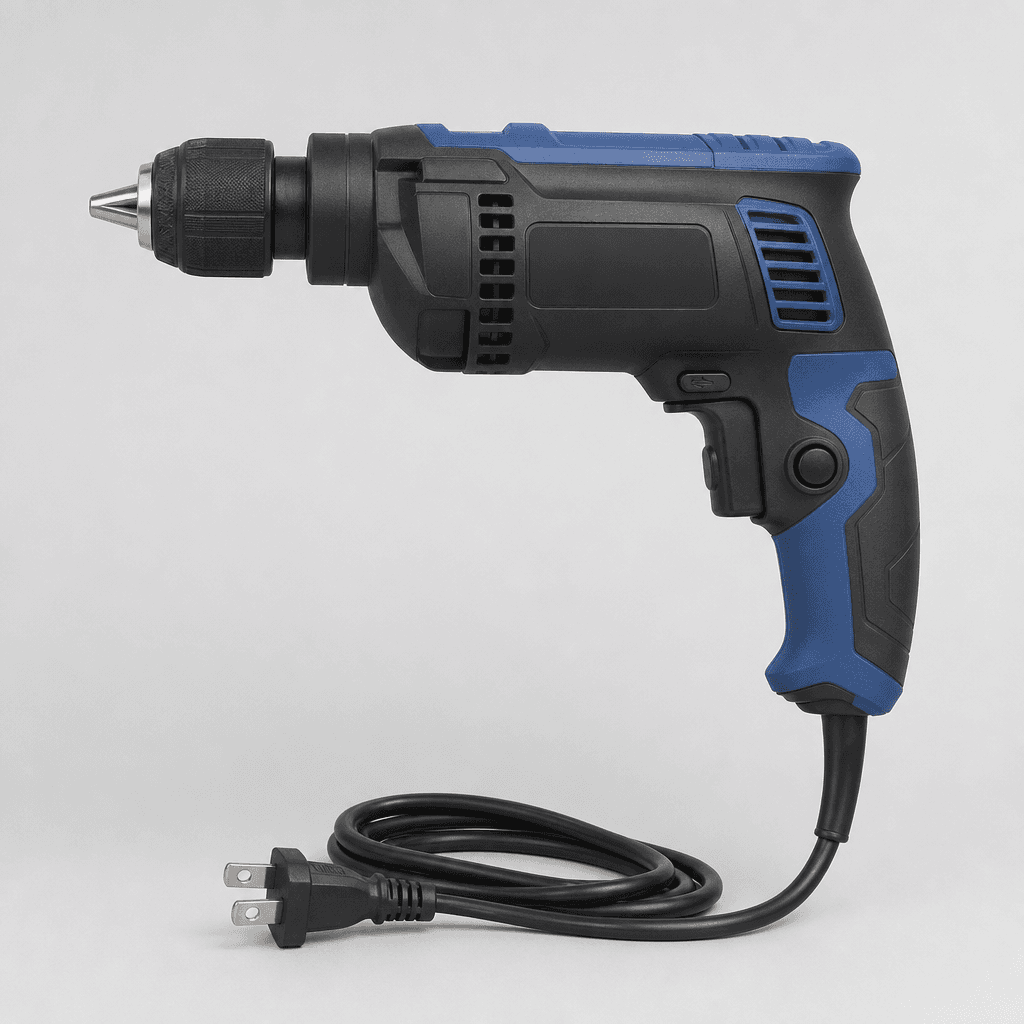
Power tools

Hair dryer

Kettle

Coffee maker

Cooktop
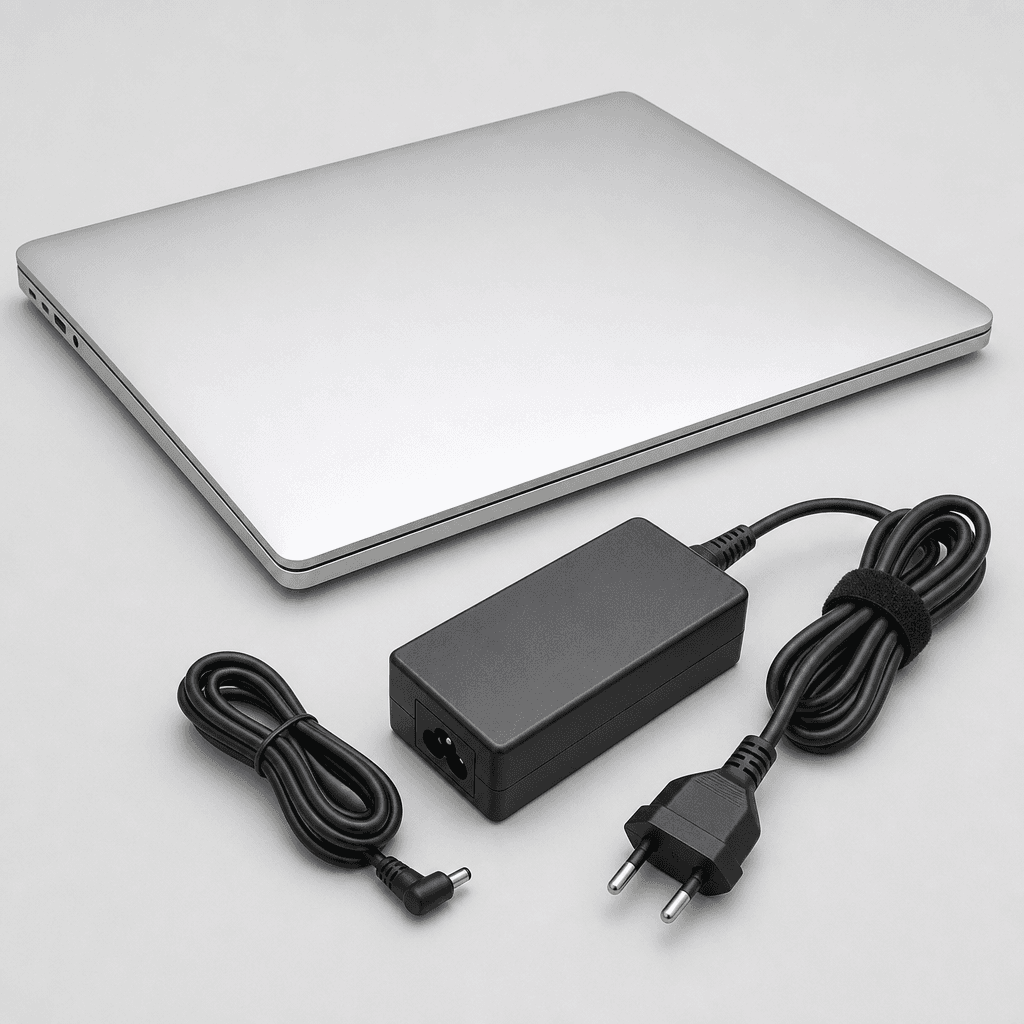
Laptop
if no USB-C port
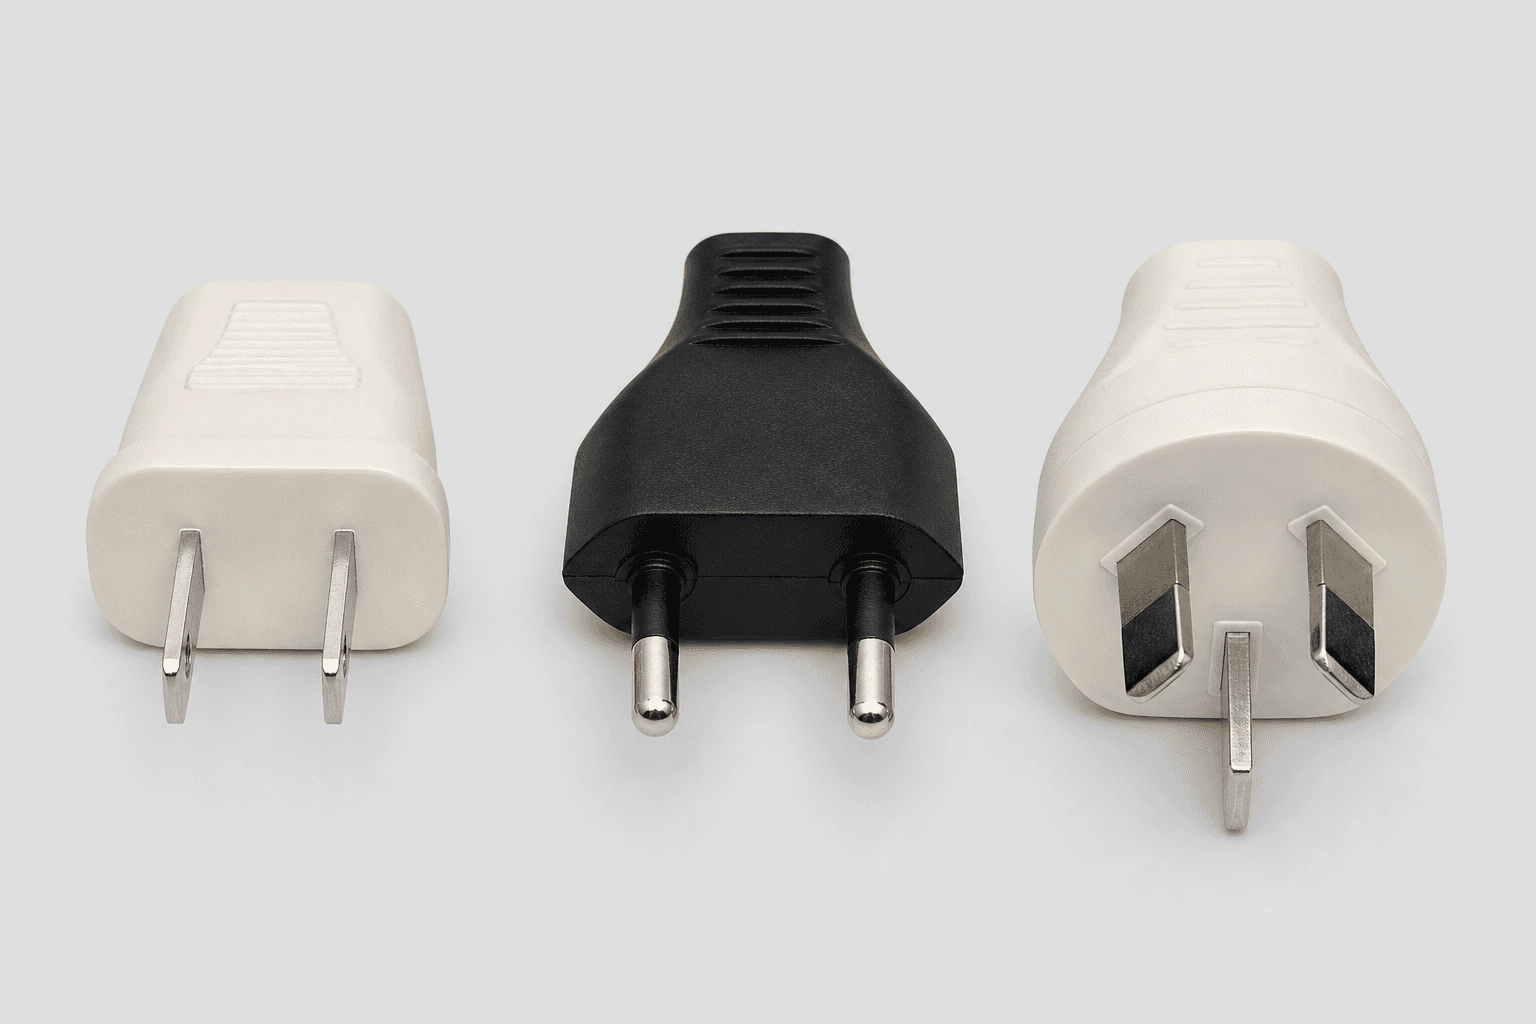
If it needs a household plug, it needs AC power.
Plug shape varies by country, but the idea is the same.
An inverter does that job: it turns 12 V DC from your battery into AC for standard wall-style sockets.
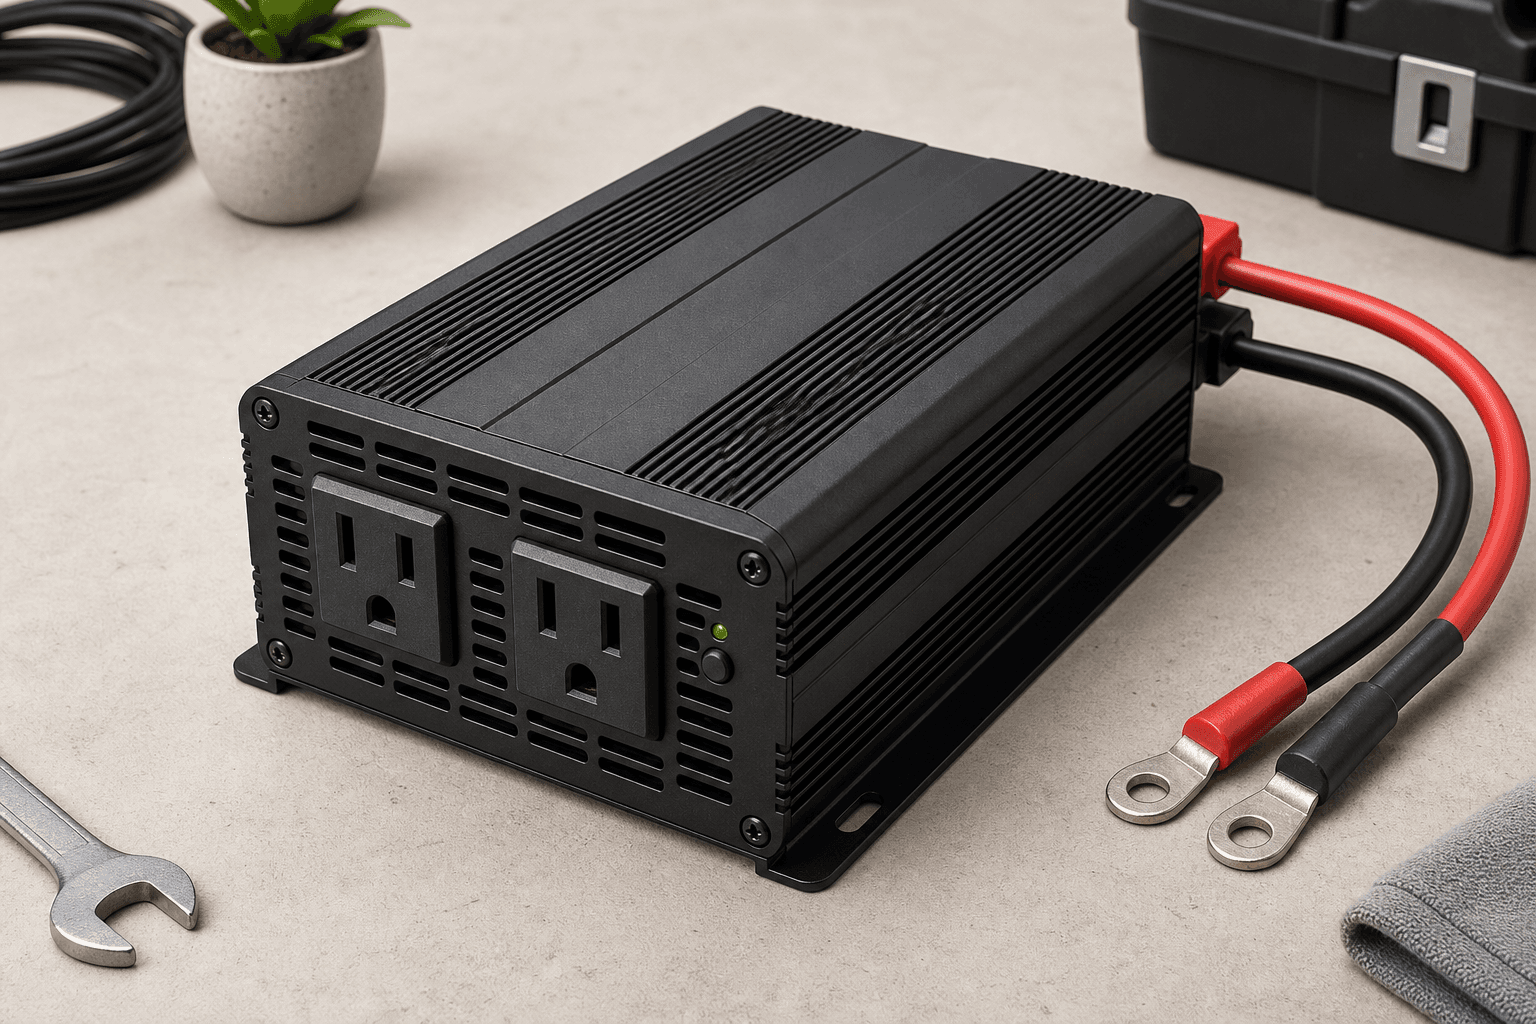
If you use AC devices, pick an inverter large enough for three things:
Which AC devices
How many at once
Startup surges
Inverter size
However, many builds manage without AC power and stay DC on purpose. That usually costs less, wastes less energy, and keeps wiring simpler than a big inverter setup.
Plan Your Power Distribution
Once you know your main components, the next step is organizing how power moves through the system.
Without a plan here, cables tend to pile onto the battery posts and become hard to expand. Most builds add two parts between the battery and your devices:
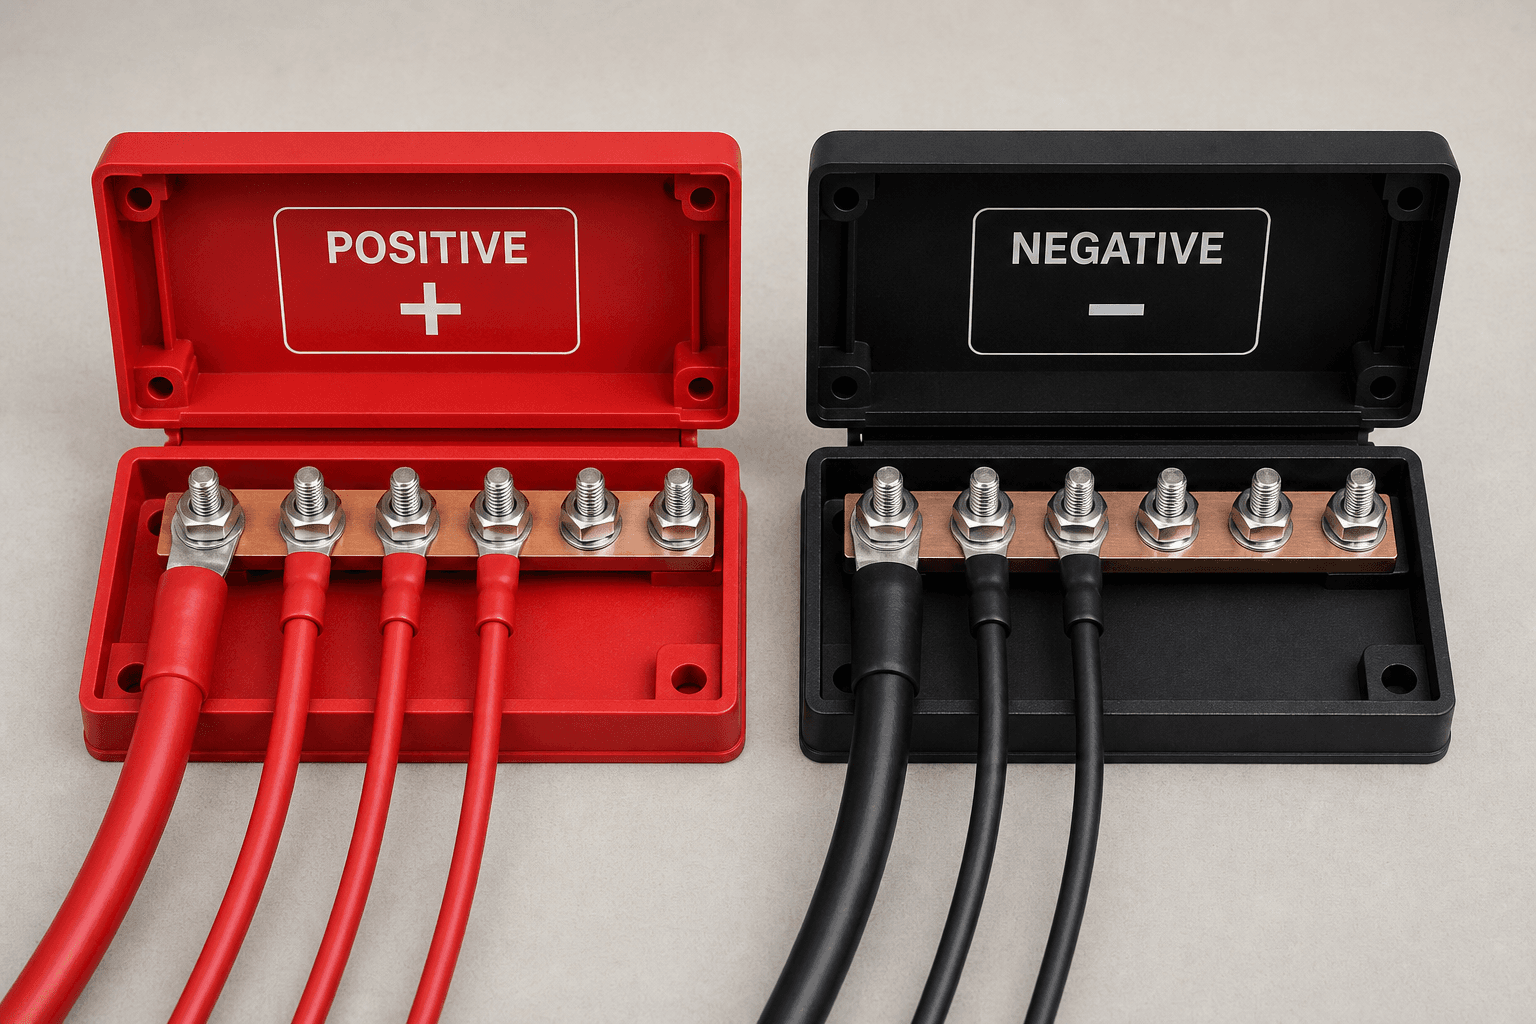
Busbars
Paired metal bars (+ and −) near the battery. Solar, chargers, and other main cables connect here instead of stacking on the battery posts—like a central meeting point for the big wires.
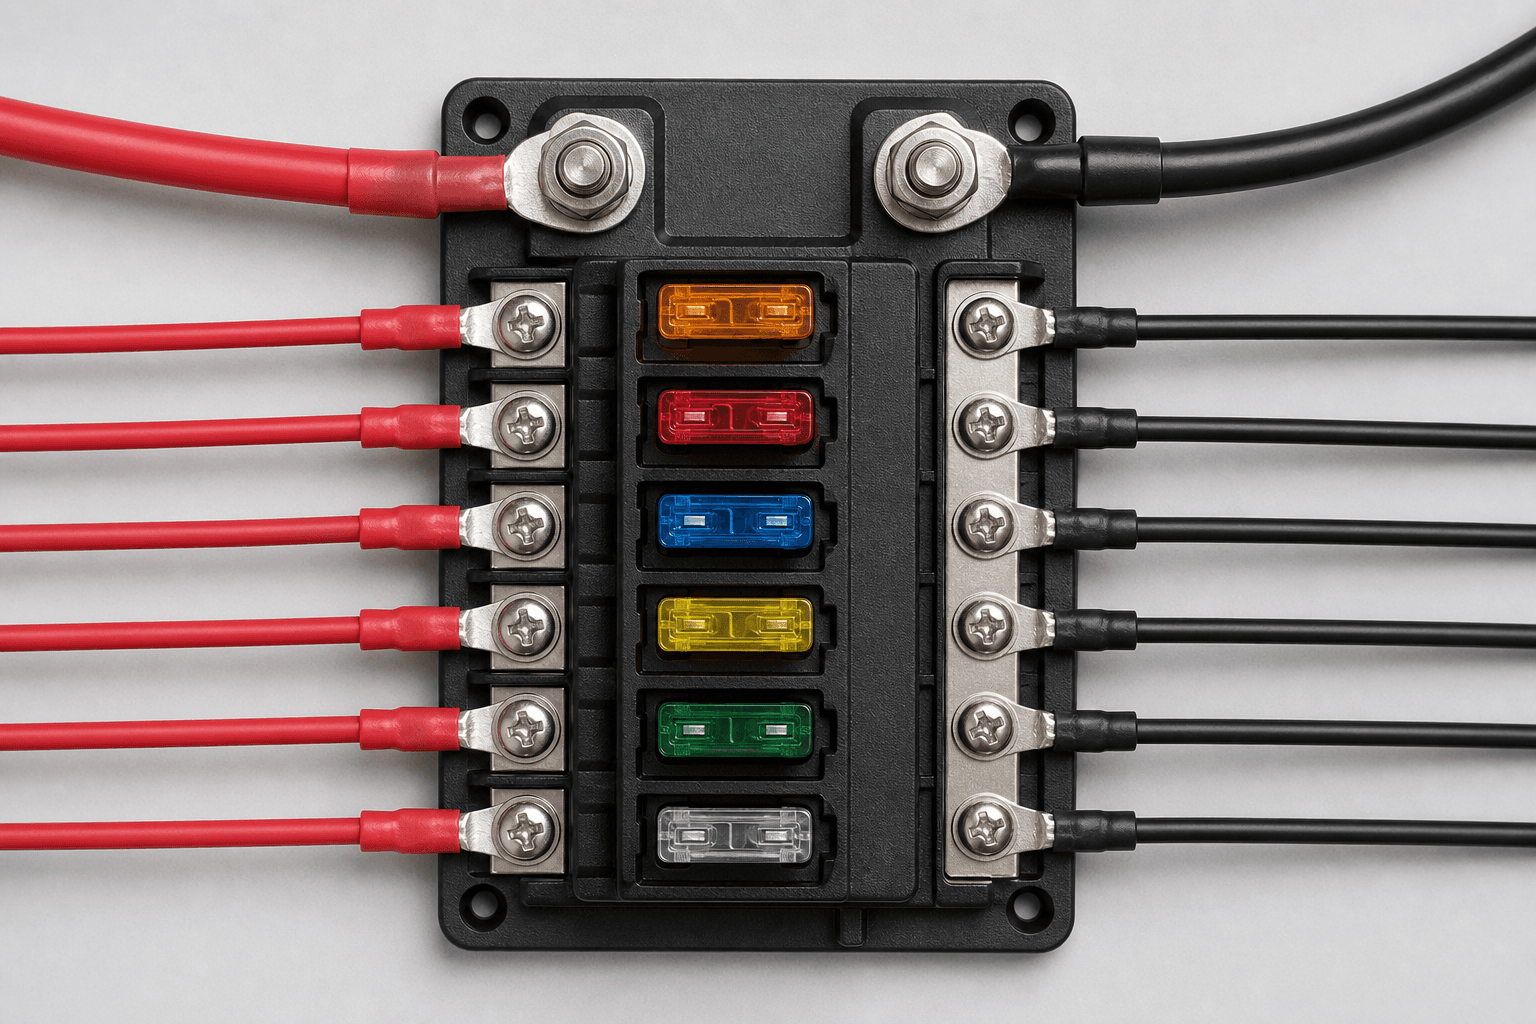
Fuse block
A row of fused outputs—one protected circuit each for lights, fridge, pump, USB, and so on. If one device faults, its fuse blows without killing everything—similar to separate breakers per room at home.
Together they keep wiring tidy, easier to troubleshoot, and simpler to expand when you add gear.
Plan System Monitoring
Good monitoring turns guesswork into useful feedback. You can see whether the battery is actually healthy, charging is keeping up, and loads are behaving—so you catch small issues before they become a dead fridge or a stranded weekend.
Most builds watch three areas:
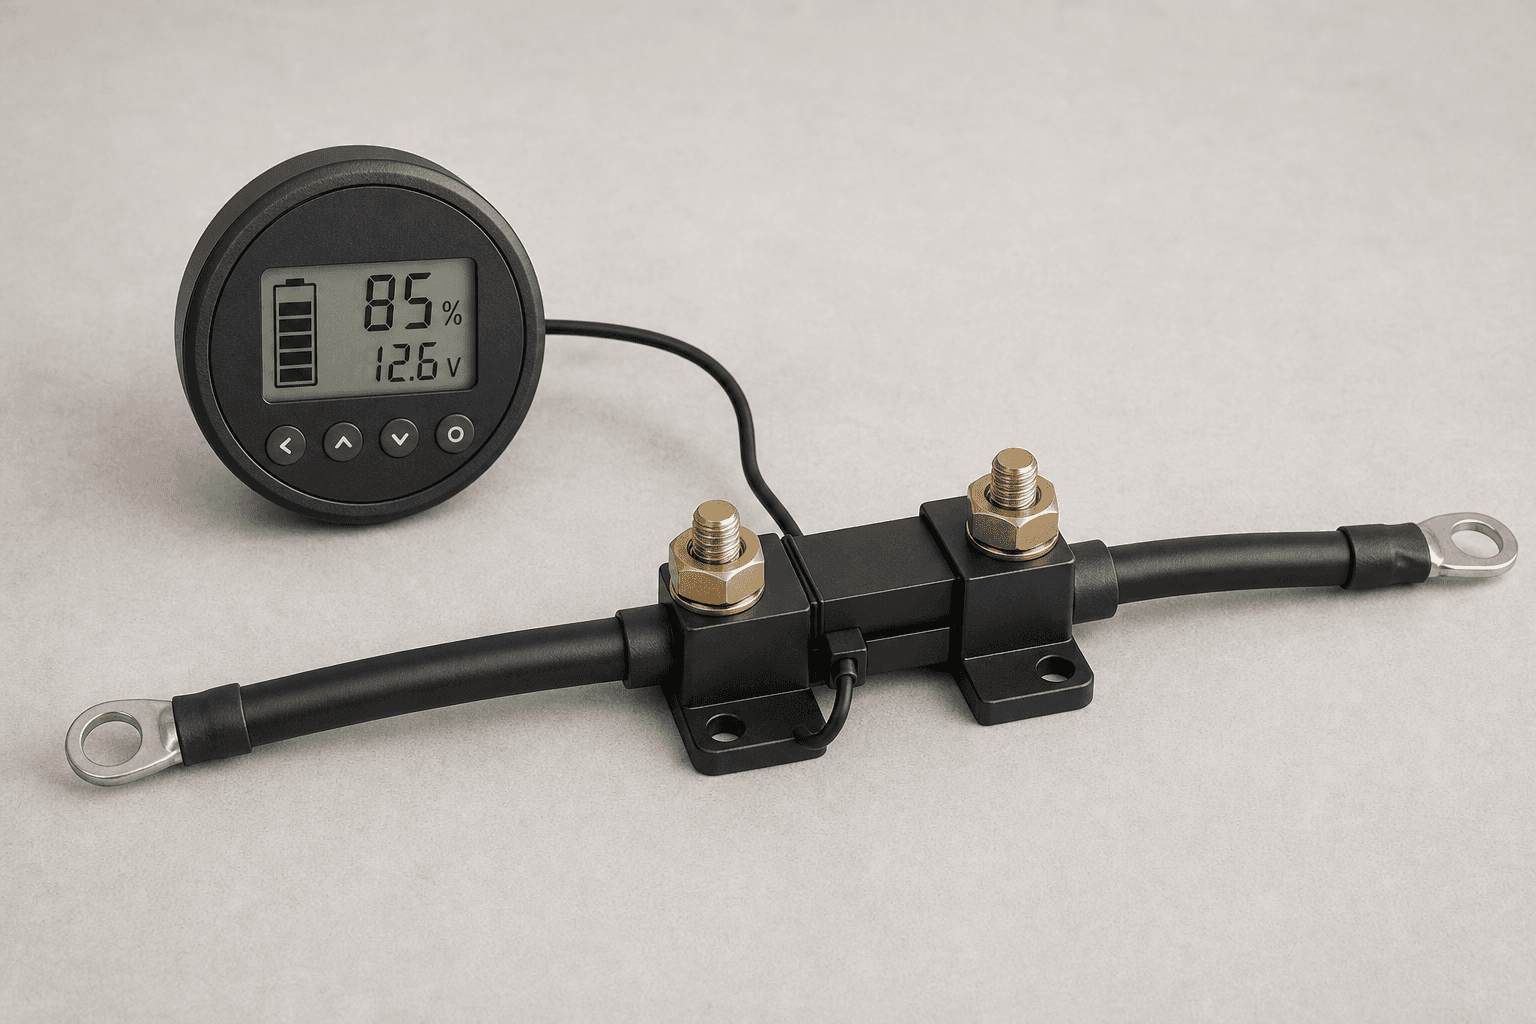
Battery monitor + shunt
Shows how full the battery really is and how fast it is charging or draining. The shunt sits on the main negative cable so it can count all current in and out.
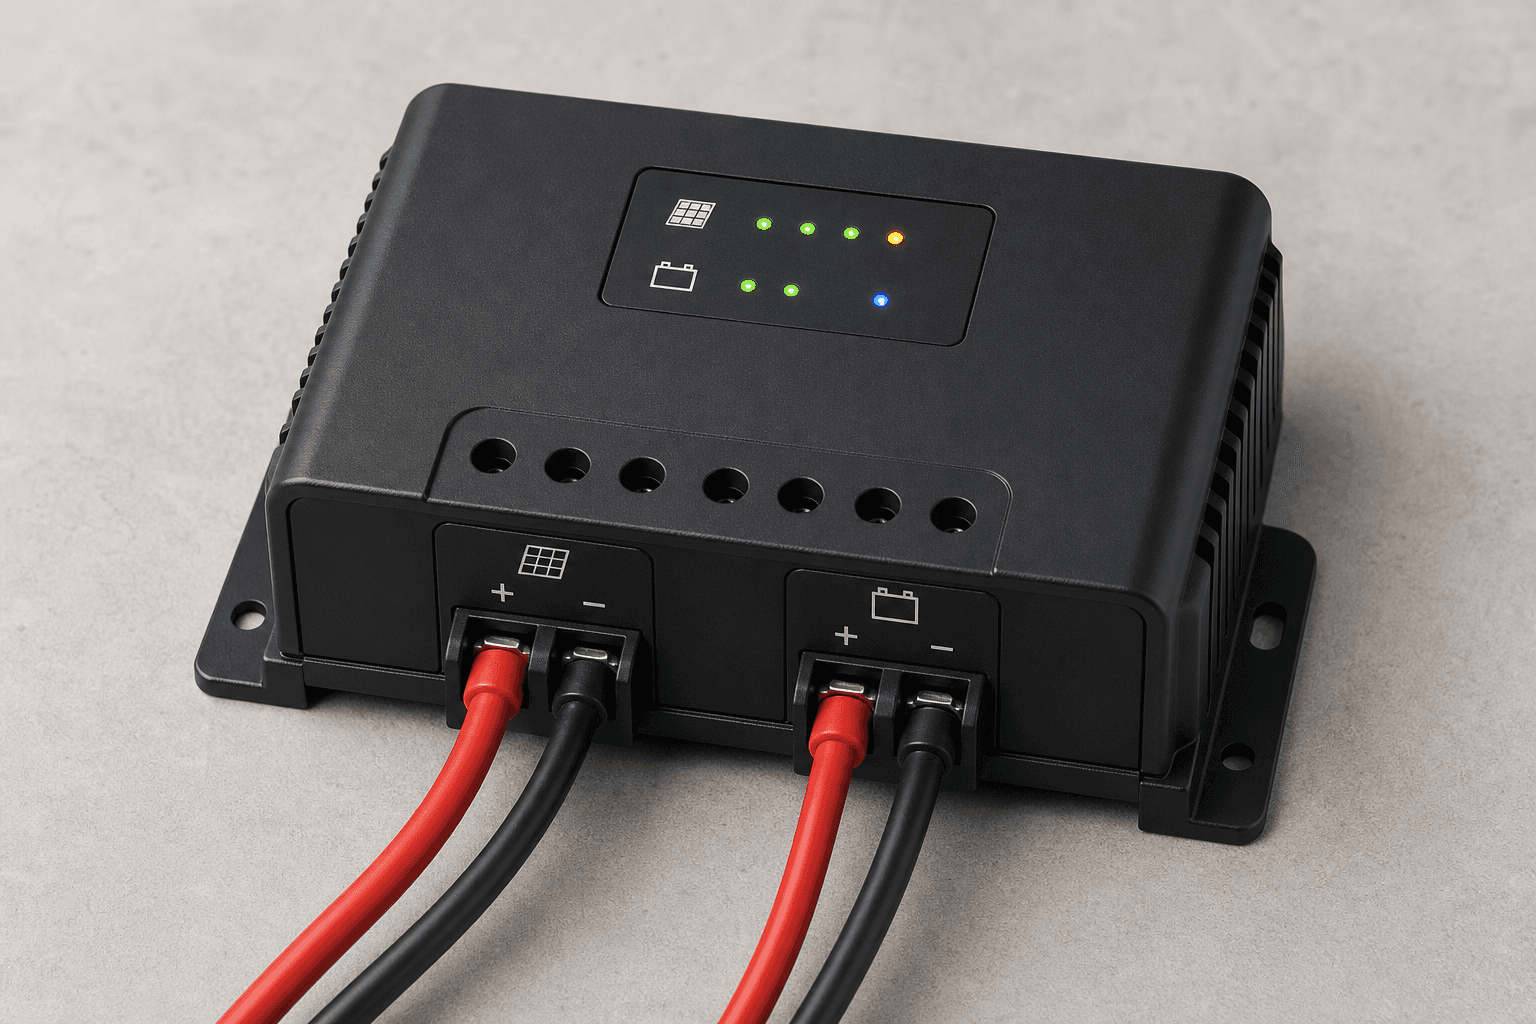
Solar charge controller
Shows whether solar is actually topping up the battery—especially useful on cloudy days or when something stops charging as expected.
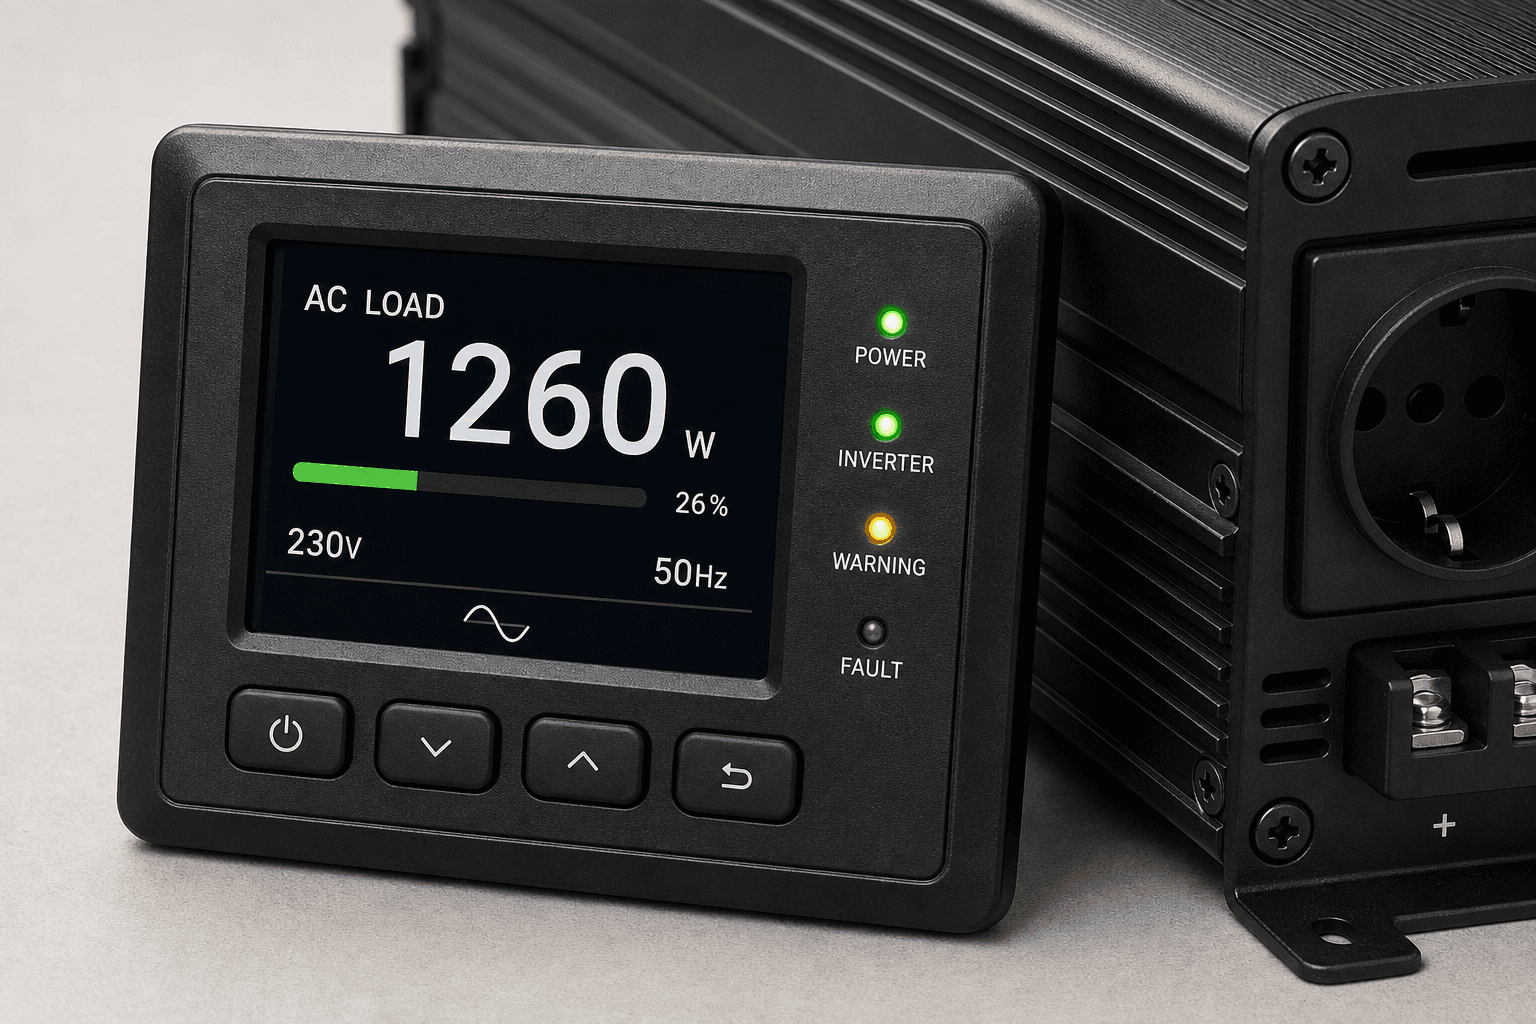
Inverter display
Shows AC load and fault warnings if you use household-style devices—helps avoid overloads and unexplained shut-offs.
A battery monitor is usually the best place to start: state of charge is easy to misjudge without one, and you often only notice a problem when something stops working.
Plan Your Wiring and Protection
Wiring is where the plan becomes a safe install. Before you crimp or route cables, work out each run on paper so every path has the right wire and the right protection.
Plan three things for the system:
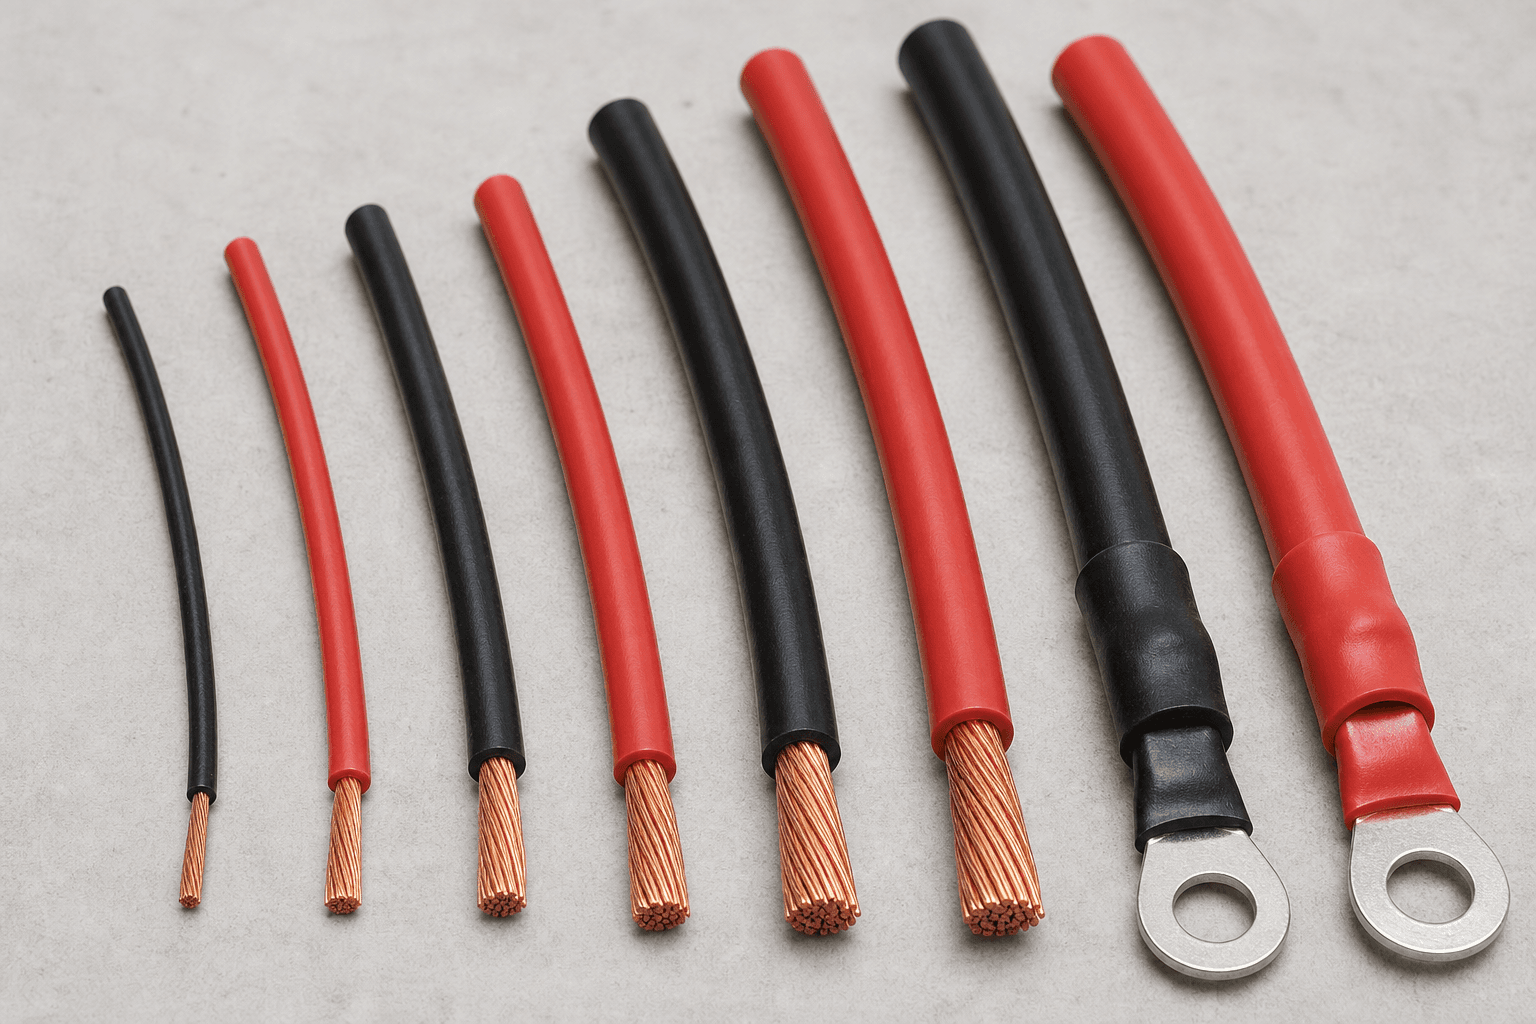
Wire size per run
Match wire size to current flowing through cables and the cable length. Too thin cables can become a fire hazard and waste voltage (devices might not function properly).
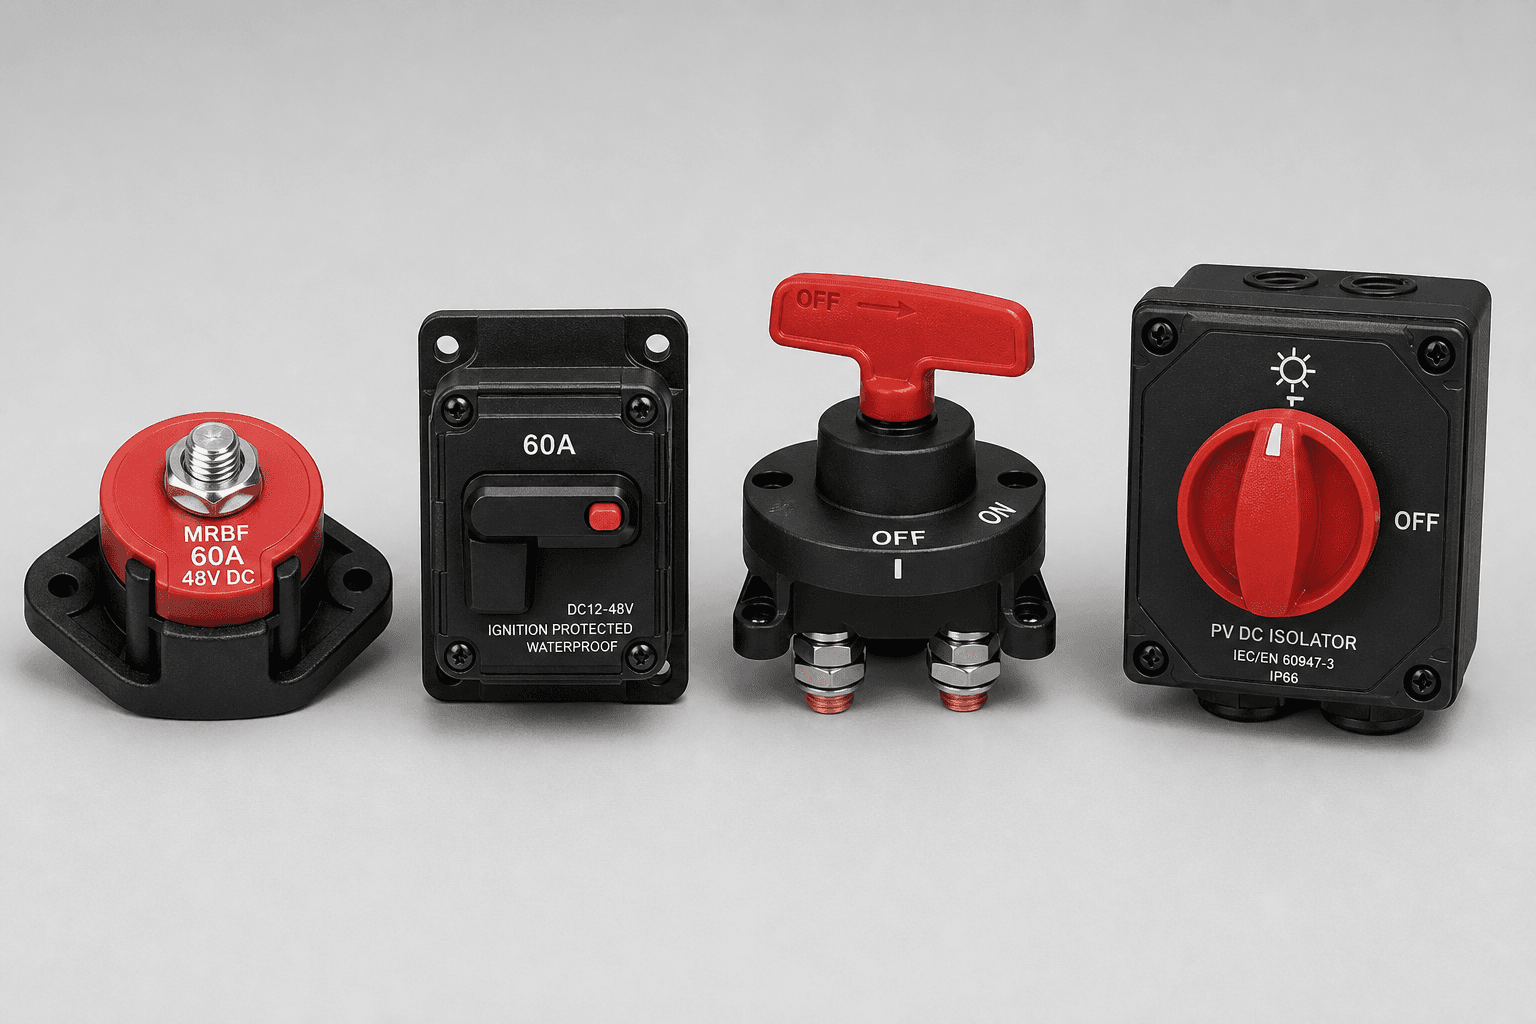
Protection per run
A fuse or circuit breaker near the power source protects the cable (not the gadget). Add a disconnect only where you want a manual off switch for service or storage.
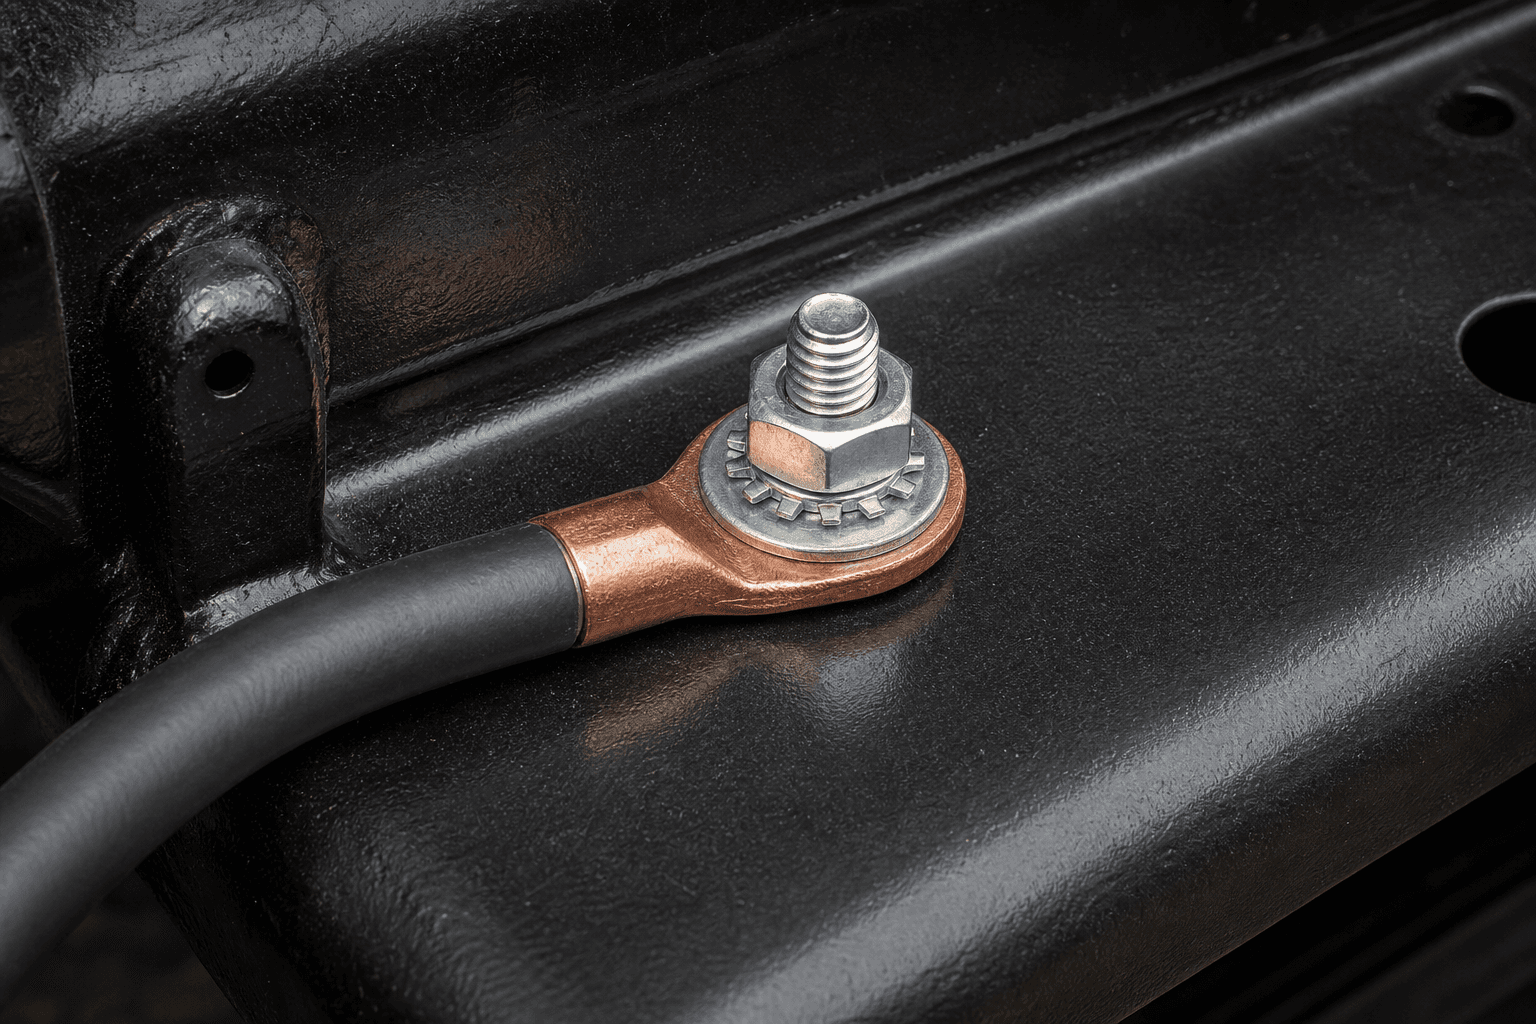
System grounding
One plan for the whole van: negative return and chassis bonded so a fault has a safe path and trips protection instead of finding metal at random.
For crimping, routing, and labeling, see When you install below.
How the pieces connect
You have now walked through all seven planning steps. The diagram below pulls them together on one overview chart—where charging, storage, distribution, loads, monitoring, and optional AC sit in a typical 12 V layout.
- 1Daily energy needs — AC & DC loads
- 2Battery capacity
- 3Charging — solar, shore, alternator
- 4Power conversion — inverter
- 5Distribution — busbars & fuse block
- 6System monitoring — battery, solar & inverter
Colored boxes match steps 1–6 above. Step 7 (cables, fuses, and protection) is left off this overview on purpose; that level of detail belongs in the wiring section, not on a big-picture map.
When you install
The seven steps above are planning on paper. Installing is a separate phase: you need a small, reliable tool kit and a plan for how cables run through the van—before you close panels and lose access to the runs.
Tools for a typical build
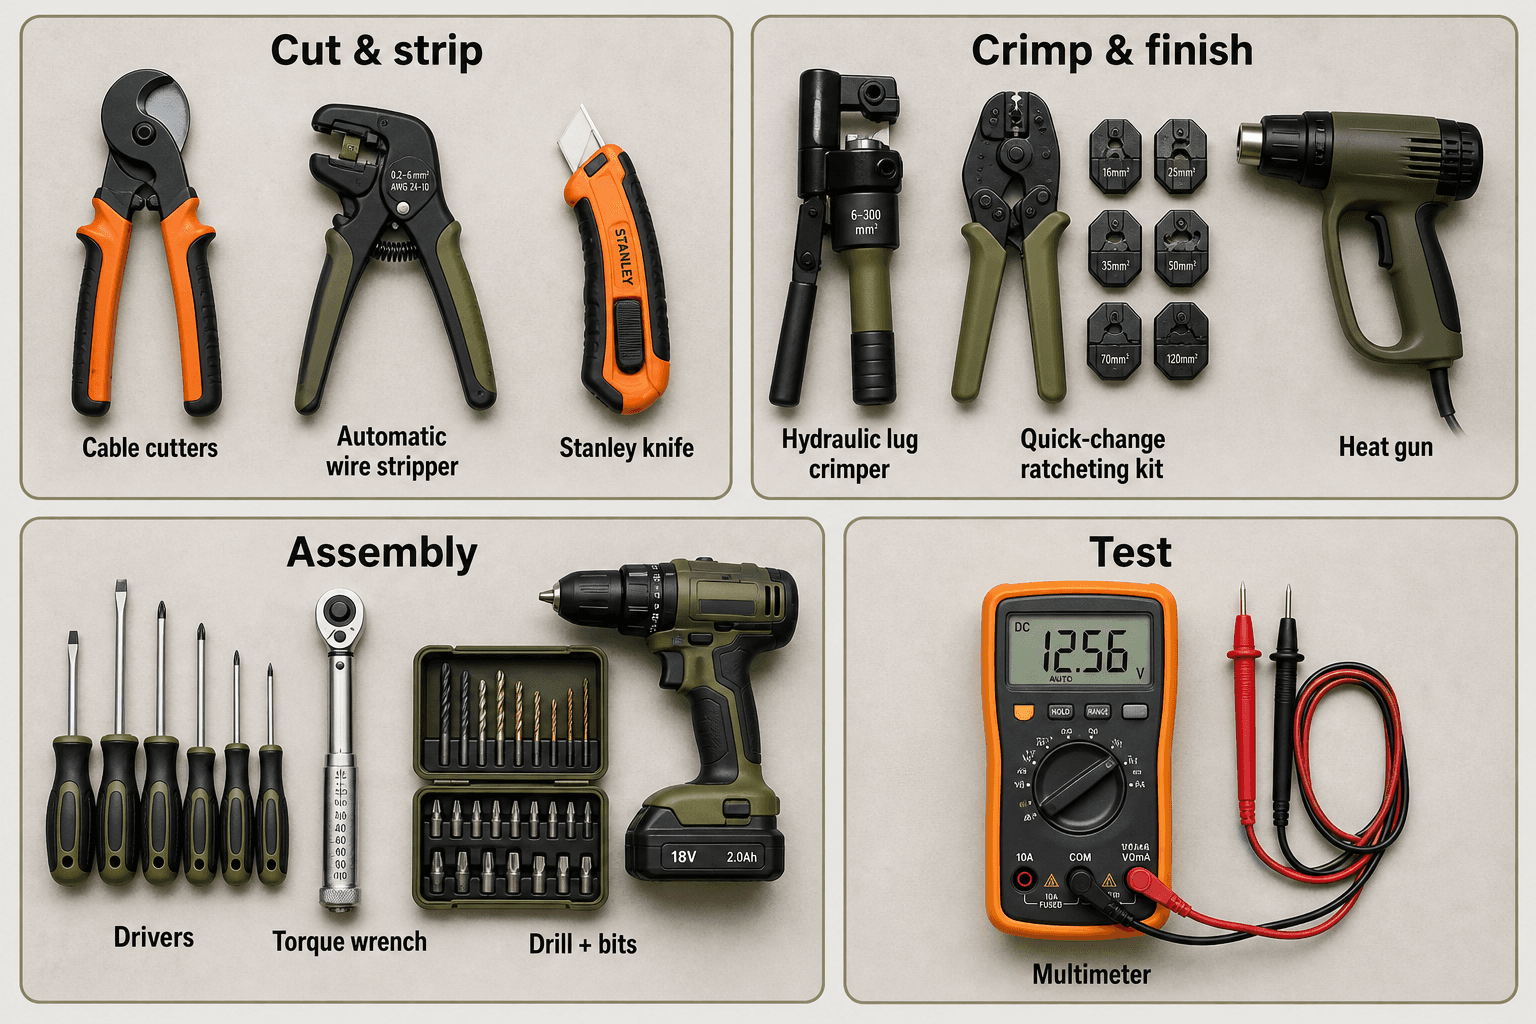
That is enough for a typical 12 V system. Specialty jobs—very thick welding cable, custom busbars, or marine-style sealed connectors—may add one or two tools, but they are the exception on most builds.
Cable routing & labeling
How you run, protect, and label cables is what keeps a tidy plan working after months on bumpy roads—not just choosing the right wire thickness.
Route safely
Choose a safe path first: follow solid van structure, avoid heat (exhaust/heaters), moving parts, and sharp metal edges that can rub through insulation. Keep runs neat and serviceable (so you can trace them later).
Secure & protect
Then lock it in place: use rubber grommets in drilled holes, clips/ties/channels to stop movement, and split loom or conduit to bundle and shield wires. Leave gentle bends and a little slack at each end so vibration doesn’t pull on terminals.
Label circuits
Tag each wire at both ends (e.g. "Fridge", "Pump") and at the fuse block while you can still see and reach the run.
Document fuses
Note which fuse protects which circuit—on the label, fuse block lid, or a simple diagram kept in the electrical cupboard.
A few minutes of securing and labeling during the install saves hours of frustration and guessing later.
Final Thoughts
You now have the full planning picture: all seven core steps, plus install basics for tools and cables.
The fastest way to turn this guide into a real configuration is to work through the free planner in order — each step uses the output from the one before it:
Steps 4–7 are covered in this guide. Deep-dive articles and dedicated planner tools for those are on the way. See the full planner overview for the complete workflow.
These guides and calculators are designed to help with planning and estimation. Always verify your final system design, follow local regulations, and consult qualified professionals where appropriate.